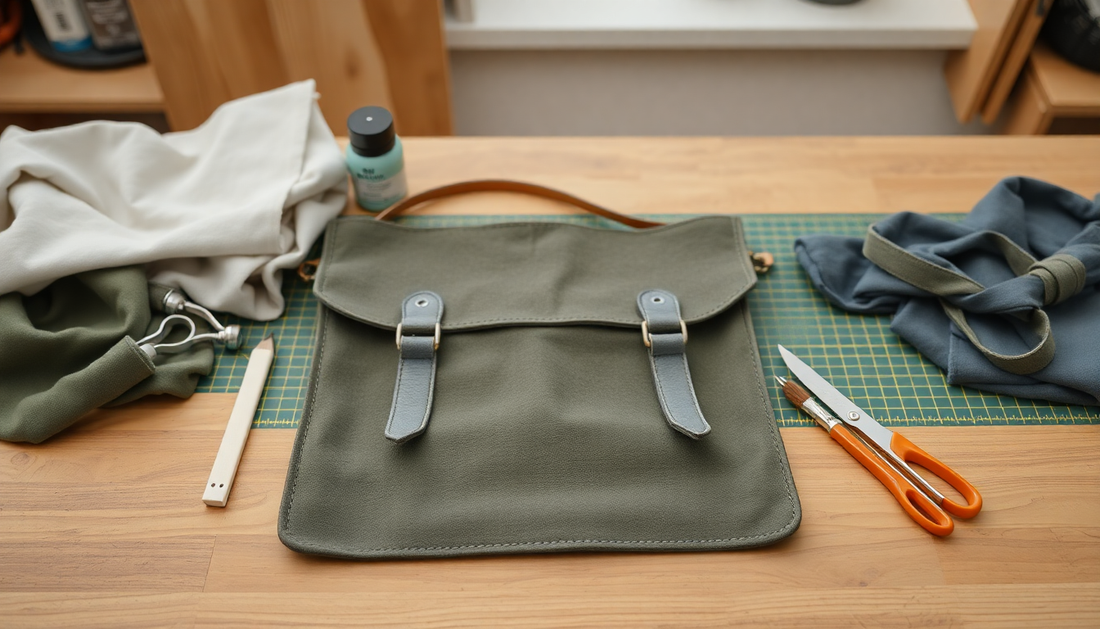
The Ultimate DIY Satchel Bag Tutorial: Create Your Own Stylish Accessory at Home
Share
Introduction
Have you ever dreamed of crafting your own stylish satchel bag? With the rise of DIY culture, it's now easier than ever to create a unique accessory that reflects your personal style. In this comprehensive tutorial, we will guide you through the process of making your own satchel bag at home, using high-quality materials and simple techniques. Whether you're a seasoned crafter or a beginner, this project is designed to be enjoyable and fulfilling.
Why Make Your Own Satchel Bag?
- Customization: Tailor the design, color, and materials to suit your style. You have full control over the aesthetics, ensuring that your satchel is one-of-a-kind.
- Quality Materials: Use premium leather and hardware for a durable product. This guarantees that your bag will withstand daily use and maintain its beauty over time.
- Cost-Effective: Save money compared to buying a designer bag. Many DIY kits are affordable, providing value for the quality of materials included.
- Satisfaction: Experience the joy of creating something by hand. The sense of accomplishment that comes from completing a project is unmatched.
- Skill Development: Improve your crafting skills and learn new techniques in leatherworking that can be applied to future projects.
Materials Needed
To get started on your DIY satchel bag, gather the following materials:
- Vegetable-tanned leather or white wax leather
- Solid brass hardware
- Leather sewing needles
- Waxed thread
- Cutting mat
- Craft knife or rotary cutter
- Ruler and measuring tape
- Pencil or chalk for marking
- Magnet buttons for closure
- Leather conditioner (optional)
- Buffing cloth for finishing touches
Choosing the Right Leather
The type of leather you choose can significantly impact the look and feel of your satchel bag. Here are a few options to consider:
- Vegetable-Tanned Leather: This leather is made using natural tannins, offering a robust and durable finish. It develops a beautiful patina over time, which adds character to your bag.
- White Wax Leather: Known for its luxurious feel, white wax leather is 100% full-grain leather with a unique finish. It will wear beautifully, revealing the color beneath as it ages.
- Colored Leathers: If you're looking for a pop of color, consider using dyed leather. This option allows you to add vibrancy to your satchel while still maintaining a classic look.
Step-by-Step Instructions
Now that you have your materials ready, let’s dive into the detailed process of crafting your satchel bag.
- Prepare Your Leather: Begin by cutting your leather pieces according to the dimensions provided in your DIY kit. A standard satchel may require:
- 1 front piece (24.5 cm wide, 17.5 cm high)
- 1 back piece (same dimensions as the front)
- 2 side pieces (depth of 9 cm)
- 1 base piece (matching width and depth)
- 1 flap piece (custom size based on preference)
- Mark and Punch Holes: Use a ruler to mark where the stitching holes will go along the edges of your leather pieces. The holes should be evenly spaced, about 1 cm apart. Use a leather punch to create the holes.
- Sewing the Bag: Start stitching your bag using the saddle stitch technique. This method involves threading the needle through the same hole from opposite directions, creating a strong and attractive seam. Work slowly to ensure precision.
- Attach the Handles and Strap: Depending on your design, you may need to attach handles and an adjustable strap. Follow the kit's instructions for the correct placement of the solid brass hardware.
- Add Hardware: Secure the solid brass hardware, including the adjustable strap and magnet buttons for closure. Make sure everything is tightly fastened for durability.
- Finishing Touches: Trim any excess threads and buff your leather to achieve a polished look. If desired, apply a leather conditioner to nourish the leather and enhance its natural shine. The white wax finish will patina beautifully over time, enhancing the bag's appearance.
Ways to Wear Your Satchel Bag
Your newly crafted satchel bag is versatile and can be worn in several ways:
- As a Crossbody Bag: Perfect for hands-free convenience, ideal for running errands or traveling.
- On One Shoulder: A chic option for casual outings, allowing easy access to your belongings.
- As a Handheld Bag: For a more sophisticated look, carry your satchel by its handles for a stylish appearance.
Care and Maintenance
To ensure your satchel bag lasts for many years, proper care and maintenance are essential:
- Regular Cleaning: Wipe your bag with a damp cloth to remove dust and dirt. Avoid soaking the leather.
- Conditioning: Use a leather conditioner every few months to keep the leather supple and prevent cracking.
- Storage: When not in use, store your satchel in a dust bag and keep it away from direct sunlight to avoid fading.
Conclusion
Creating your own satchel bag is not only a rewarding project but also a fantastic way to express your creativity. With the right materials and a little patience, you can craft a stylish accessory that will last for years. So gather your supplies, follow this tutorial, and enjoy the satisfaction of making something uniquely yours! Remember, the beauty of a DIY bag lies in its imperfections, each stitch representing your hard work and creativity.
Now, go ahead and unleash your inner craftsperson, and who knows, you might even inspire others to join the DIY movement!
